3.3.5. Import Images
TODO: Introduction and image
3.3.5.1. Import geologic images
GIFtools allows one to import geologic maps in order to populate models and ultimately constrain inversions. Plan-view images can be imported in current versions. In the near future, cross-section images will be accessed through the same menu pipeline.
Use the main project menu: Import → Image → Plan-view

Along with the image file, a world file is required to georectify the image. A legend file to specify the RGB values for each geology unit can be imported when importing the image or either imported or created after image importation.
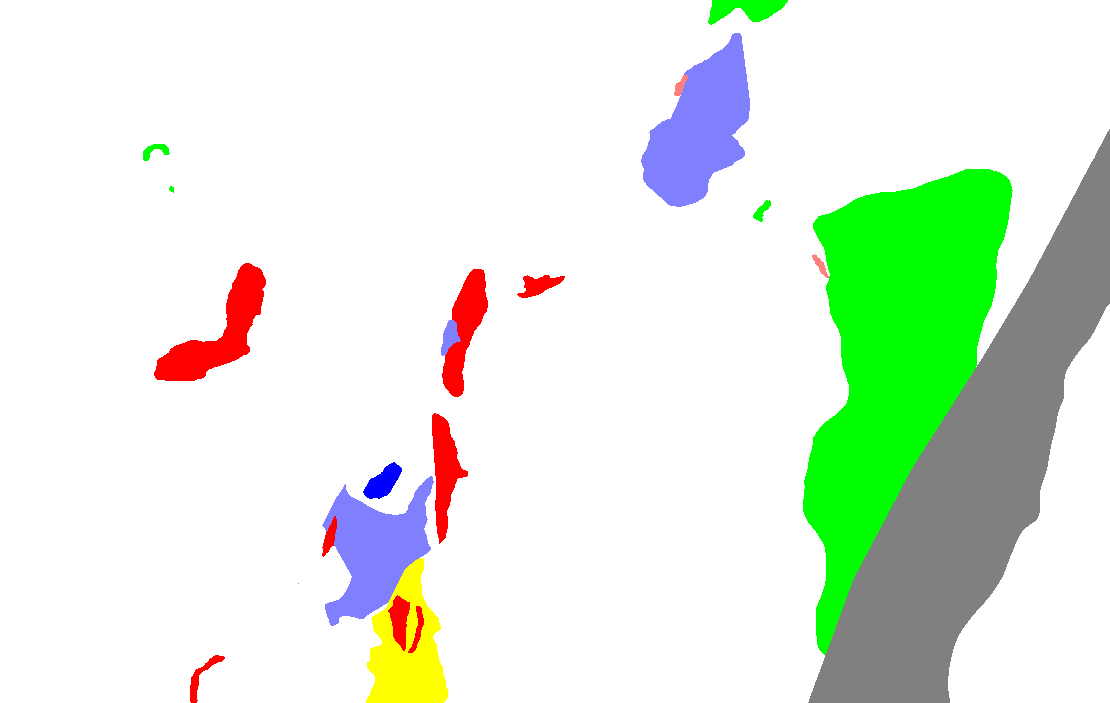
NOTE: Images with distinct colour combinations and no text will perform much better when discretizing models. Below is an example:
3.3.5.1.1. World file format
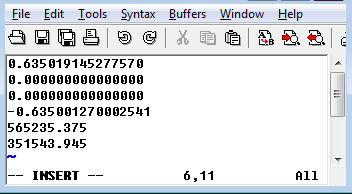
The world file has been specified by Esri (.tfw file). It is a plain text file with the following lines. GIFtools will recognize rotations given in this file.
Line 1: pixel size in the Easting direction in pixels
Line 2: rotation about Northing axis
Line 3: rotation about Easting axis
Line 4: pixel size in the Northing direction in pixels, (almost always negative)
Line 5: Easting coordinate of the center of the upper left pixel
Line 6: Northing coordinate of the center of the upper left pixel
Below is an example:
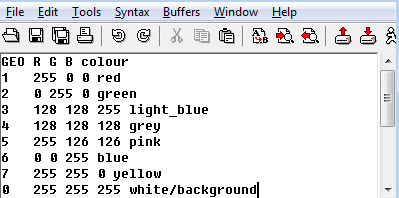
3.3.5.1.2. Legend file format
The legend file will be an XYZ or CSV with a header. The important headers are the geology unit (integer), Red, Green, and Blue values (0-255) contained within image. Comments are denoted by “!” or “//”. Below is an example of 8 units (0 being background white) for the image above.
To create a legend file, load the image and use the menu:
Plan-view image → Legend → Create → Table view